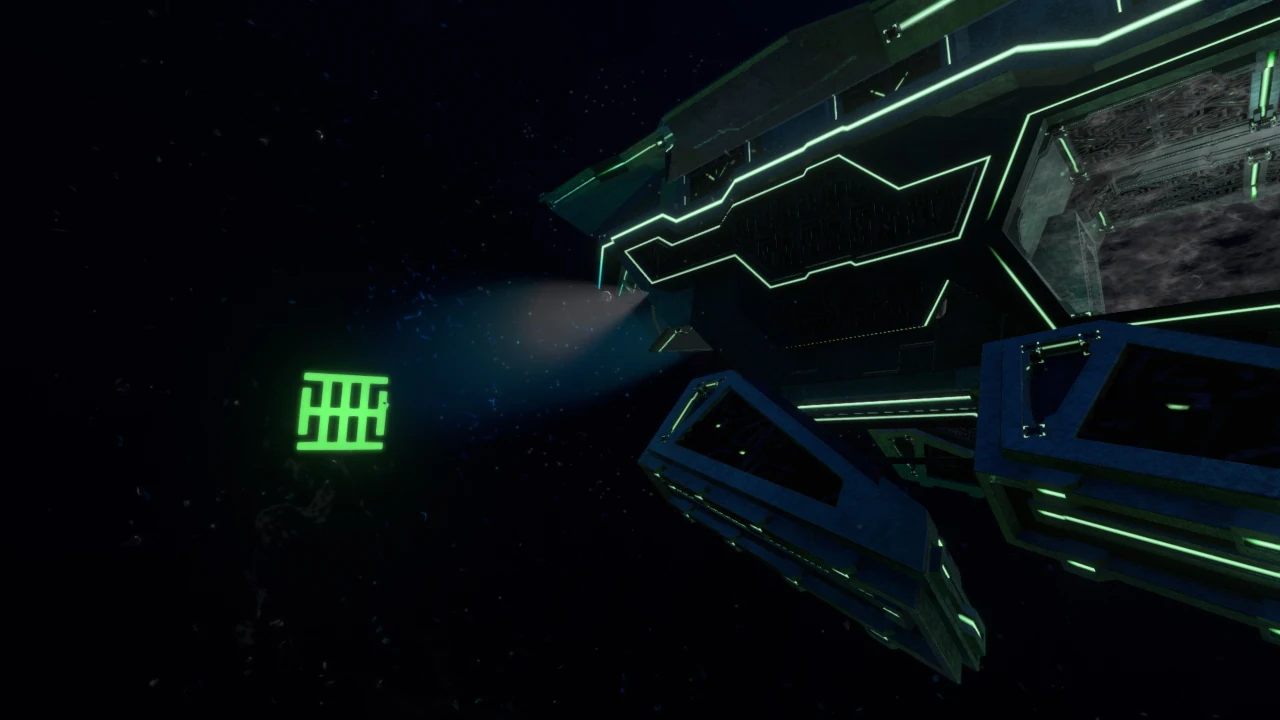
“Vessel targeting detected. Optimizing defensive systems.”
「艦への照準を検知。防衛システムを最適化中。」
所在地 / Location
- x: -2715, y: -390, z: 420(デッドゾーン / Void)
サイト概要 / Site Overview
概要 Overview
「The Prototype Expansion: Phase Gate Update」で新たに追加された、MODのストーリー進行に関わる重要地点。施設や構造物といった形では存在せず、指定座標を中心とする周辺一帯が該当する特殊な領域である。
A key location related to the MOD’s story progression, newly added in The Prototype Expansion: Phase Gate Update. It does not exist as a facility or physical structure; instead, it is a special area centered around the designated coordinates.
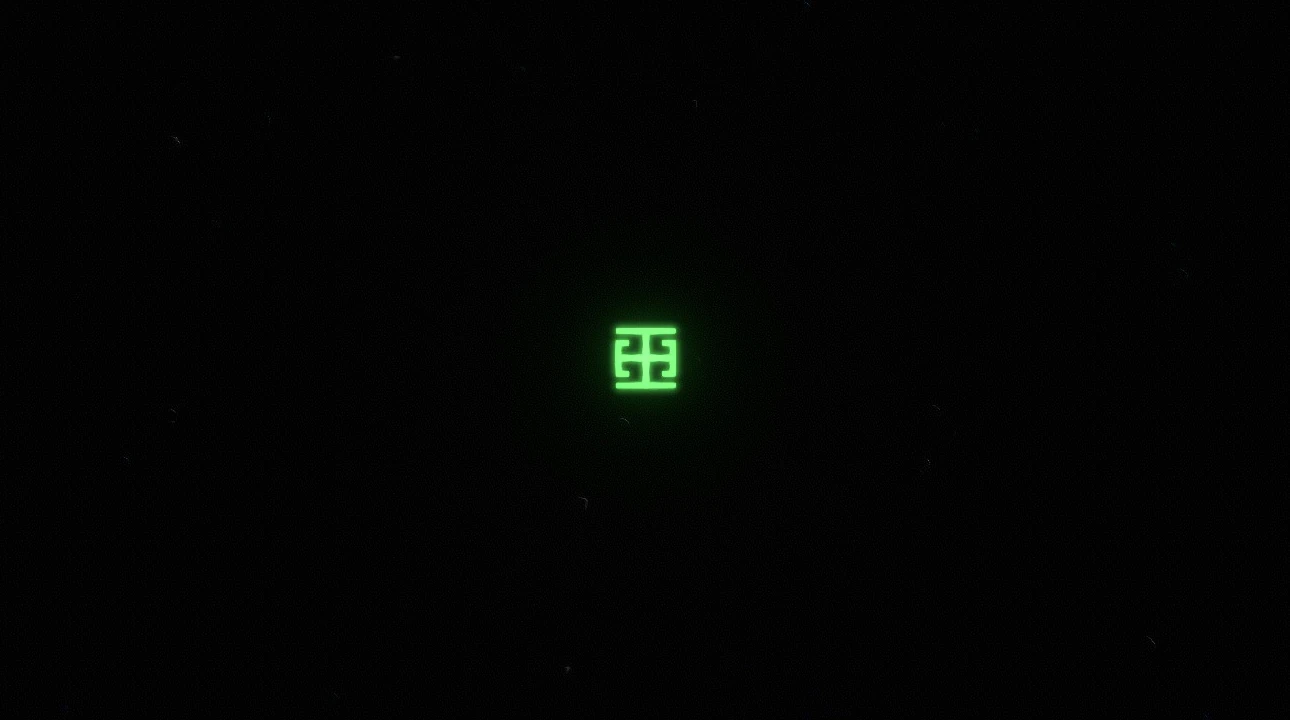
プロトタイプ管理施設を攻略後、ラジオが新たな異星人言語のメッセージを受信し、当該地点の座標がダウンロードされる。座標はクレーター外縁から950mほど離れたデッドゾーンに存在し、接近すると海中に異星人の数字言語が浮かび上がる。
After clearing the Prototype Administrative Facility, the radio receives a new message in an alien language, and the coordinates for this site are downloaded. The coordinates lie in the Void, roughly 950 meters beyond the outer edge of the Crater. When the player approaches, alien numerical symbols appear in the water.
当該座標の周辺一帯の海域は、異星人が何らかの物質を送信するために必要な「較正(Calibration)」を行う場所であり、プロトタイプ潜水艦でサイトに侵入し、特定の手順を踏むことで異星人の「送信サイト」の座標の手がかりを入手することができる。
The waters surrounding these coordinates serve as a location for the “Calibration” required by the aliens to transmit some unknown substance. By entering the site with the Prototype submarine and following a specific procedure, the player can obtain a clue to the coordinates of the alien “Transmission Site.”
攻略情報 Strategy
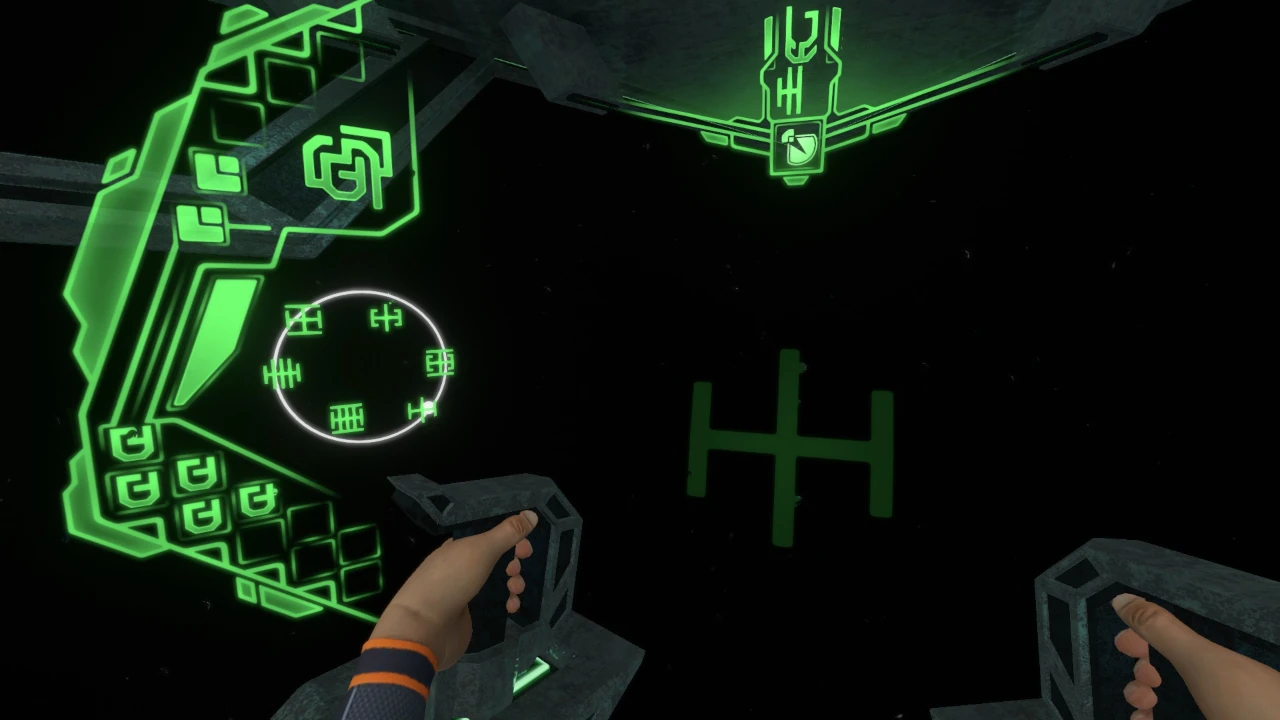
提示された座標に到達すると、プロトタイプの操縦UI左側に本サイトのマップが表示される。プレイヤーの現在位置は矢印で示され、座標到達時点ではマップ右下のシンボルと重なる位置にあることが確認できる。
Upon reaching the provided coordinates, a map of the site appears on the left side of the Prototype’s piloting UI. The player’s current position is shown as an arrow, and upon arrival at the coordinates, it can be seen overlapping the symbol in the lower-right area of the map.
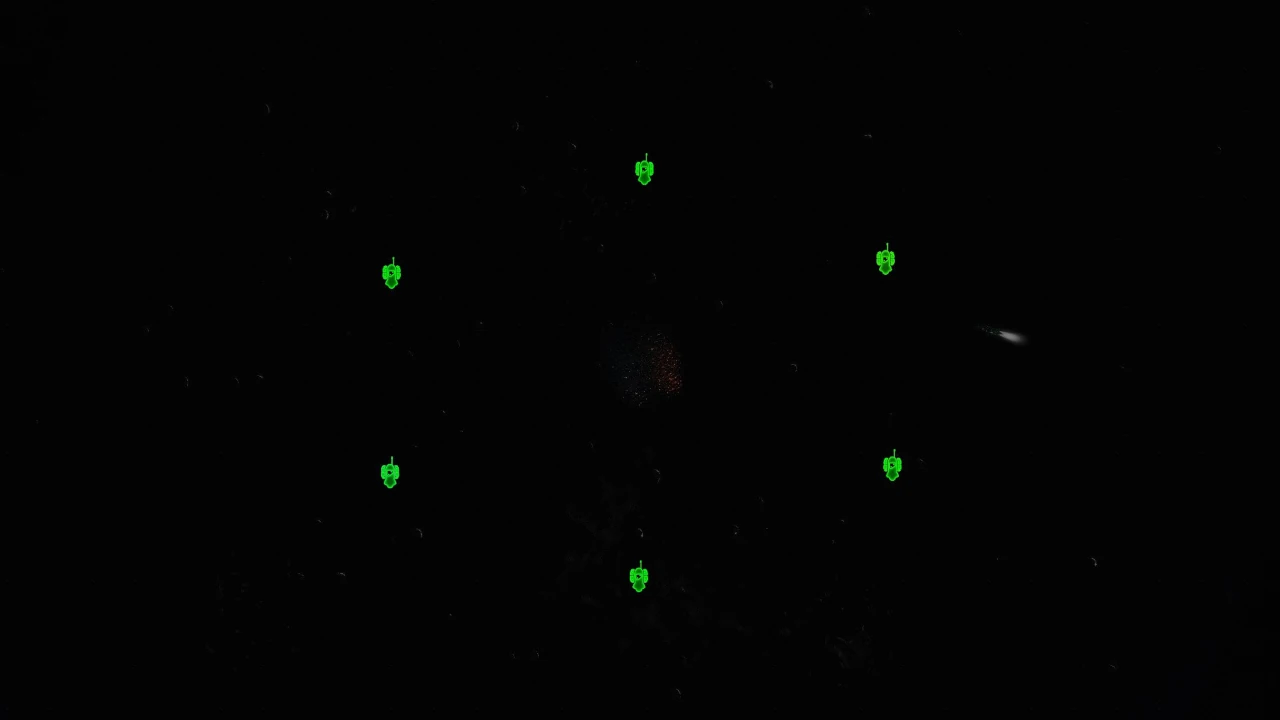
マップ上には合計6つのシンボルが円状に並んで表示されており、それぞれが本海域内に存在する特定の地点を示している。各地点の位置関係はマップ上の配置と対応しており、地点同士の距離は最短で約400m、最大で約1,000mほど離れている。
A total of six symbols are displayed in a circular arrangement on the map, each corresponding to a specific point within the surrounding waters. Their relative positions match their placement on the map, with the distance between points ranging from approximately 400 meters at the shortest to roughly 1,000 meters at the longest.
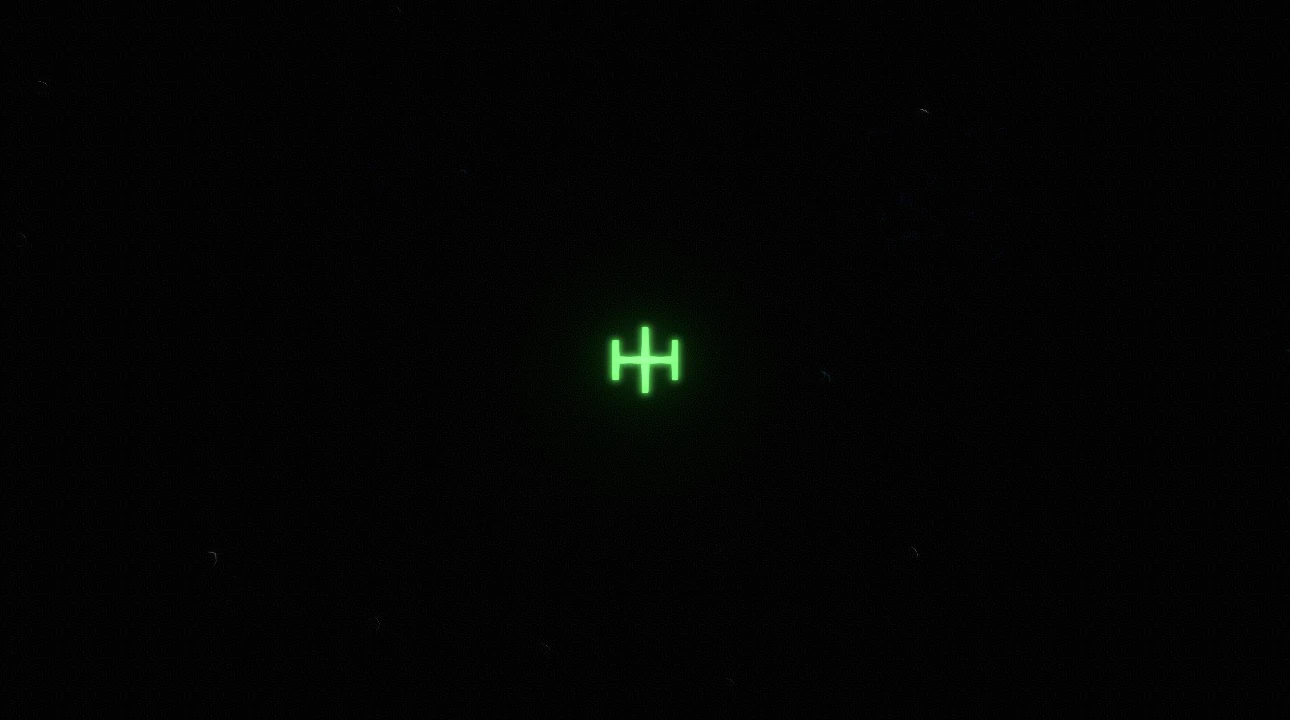
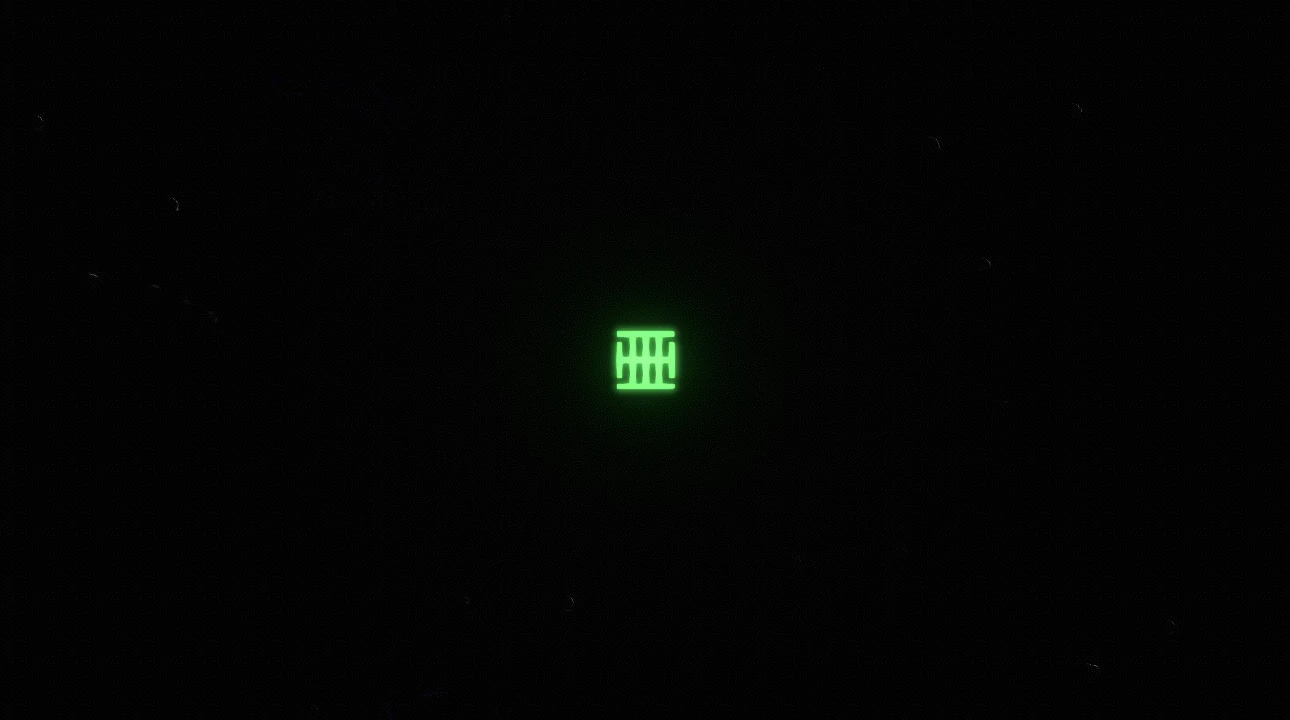
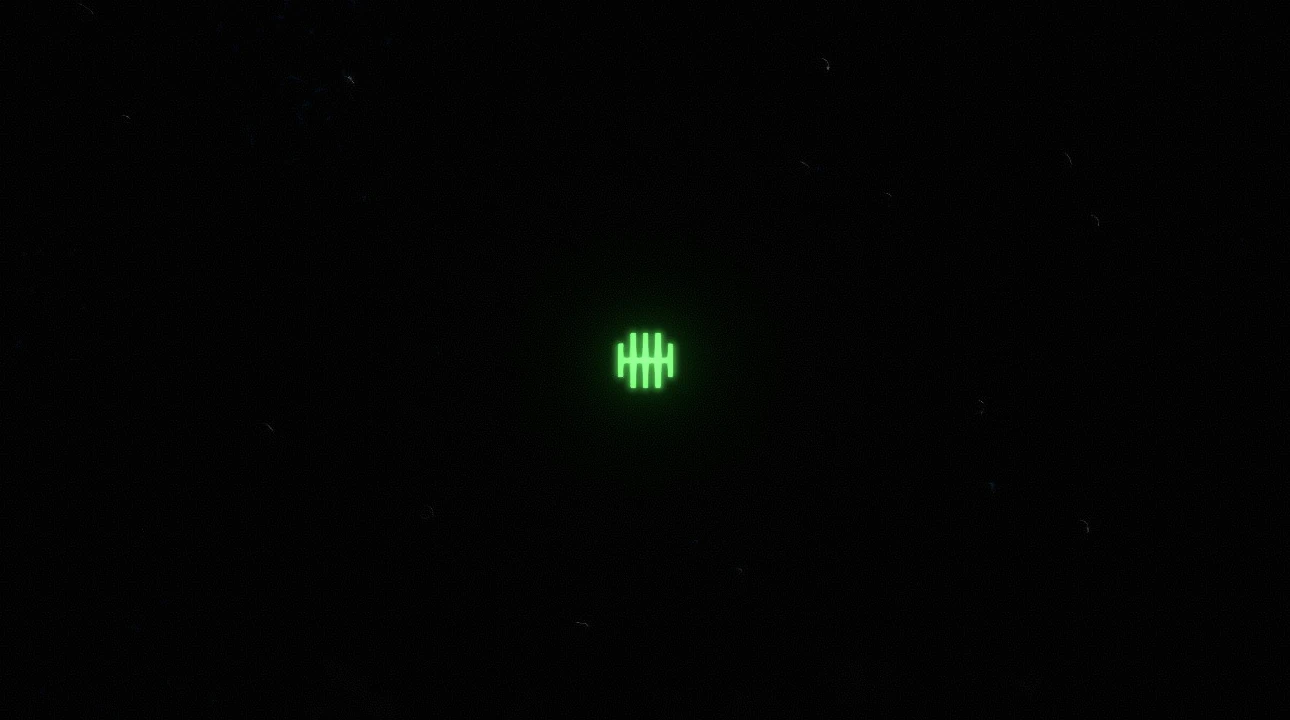
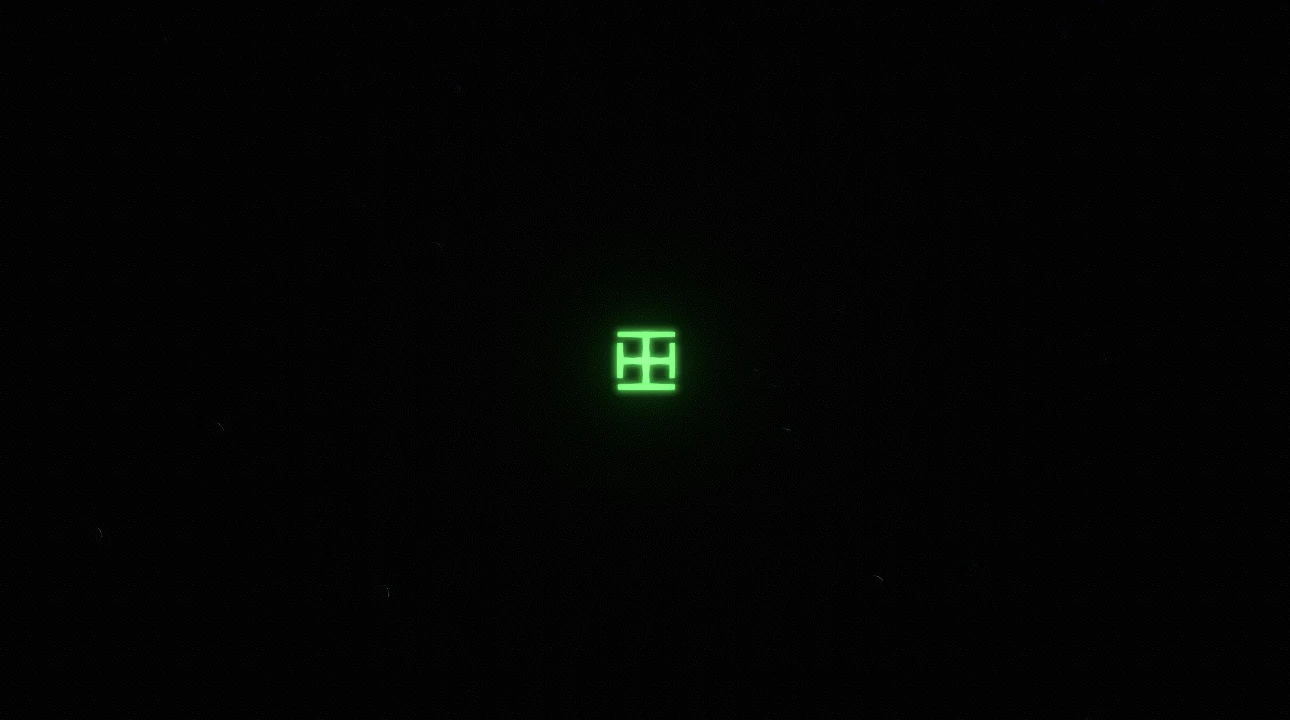
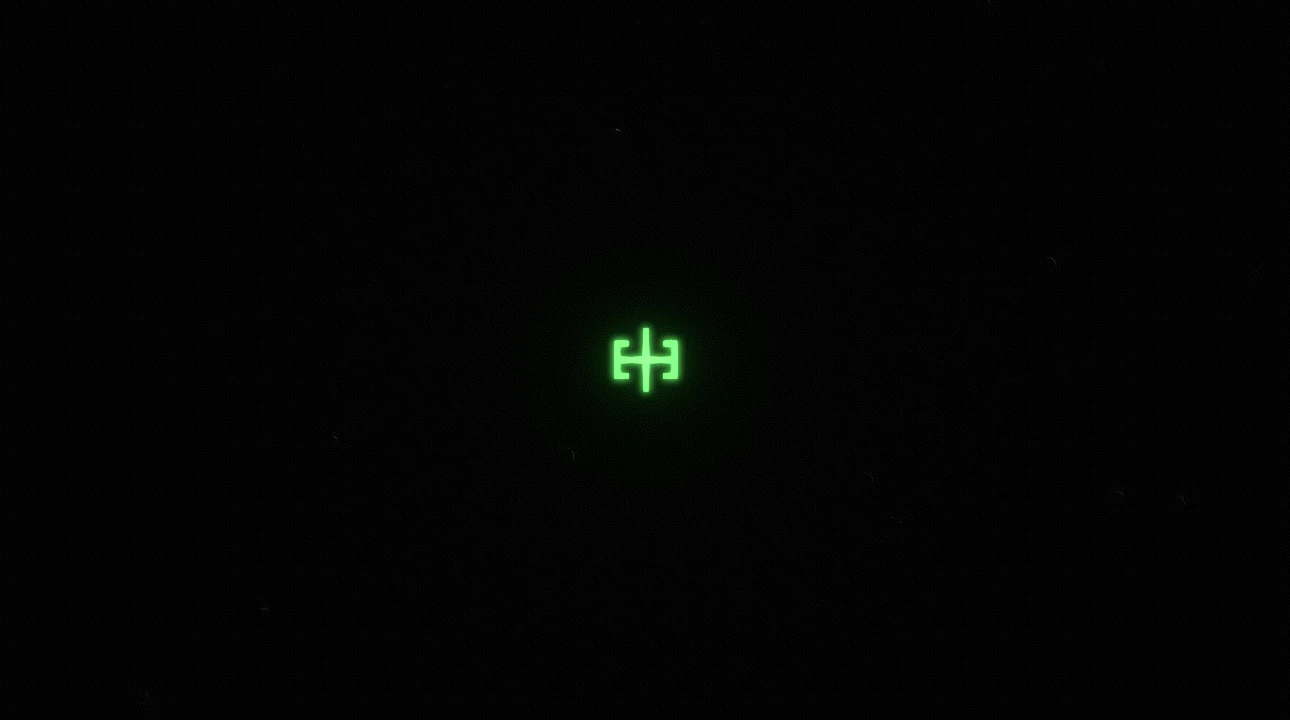
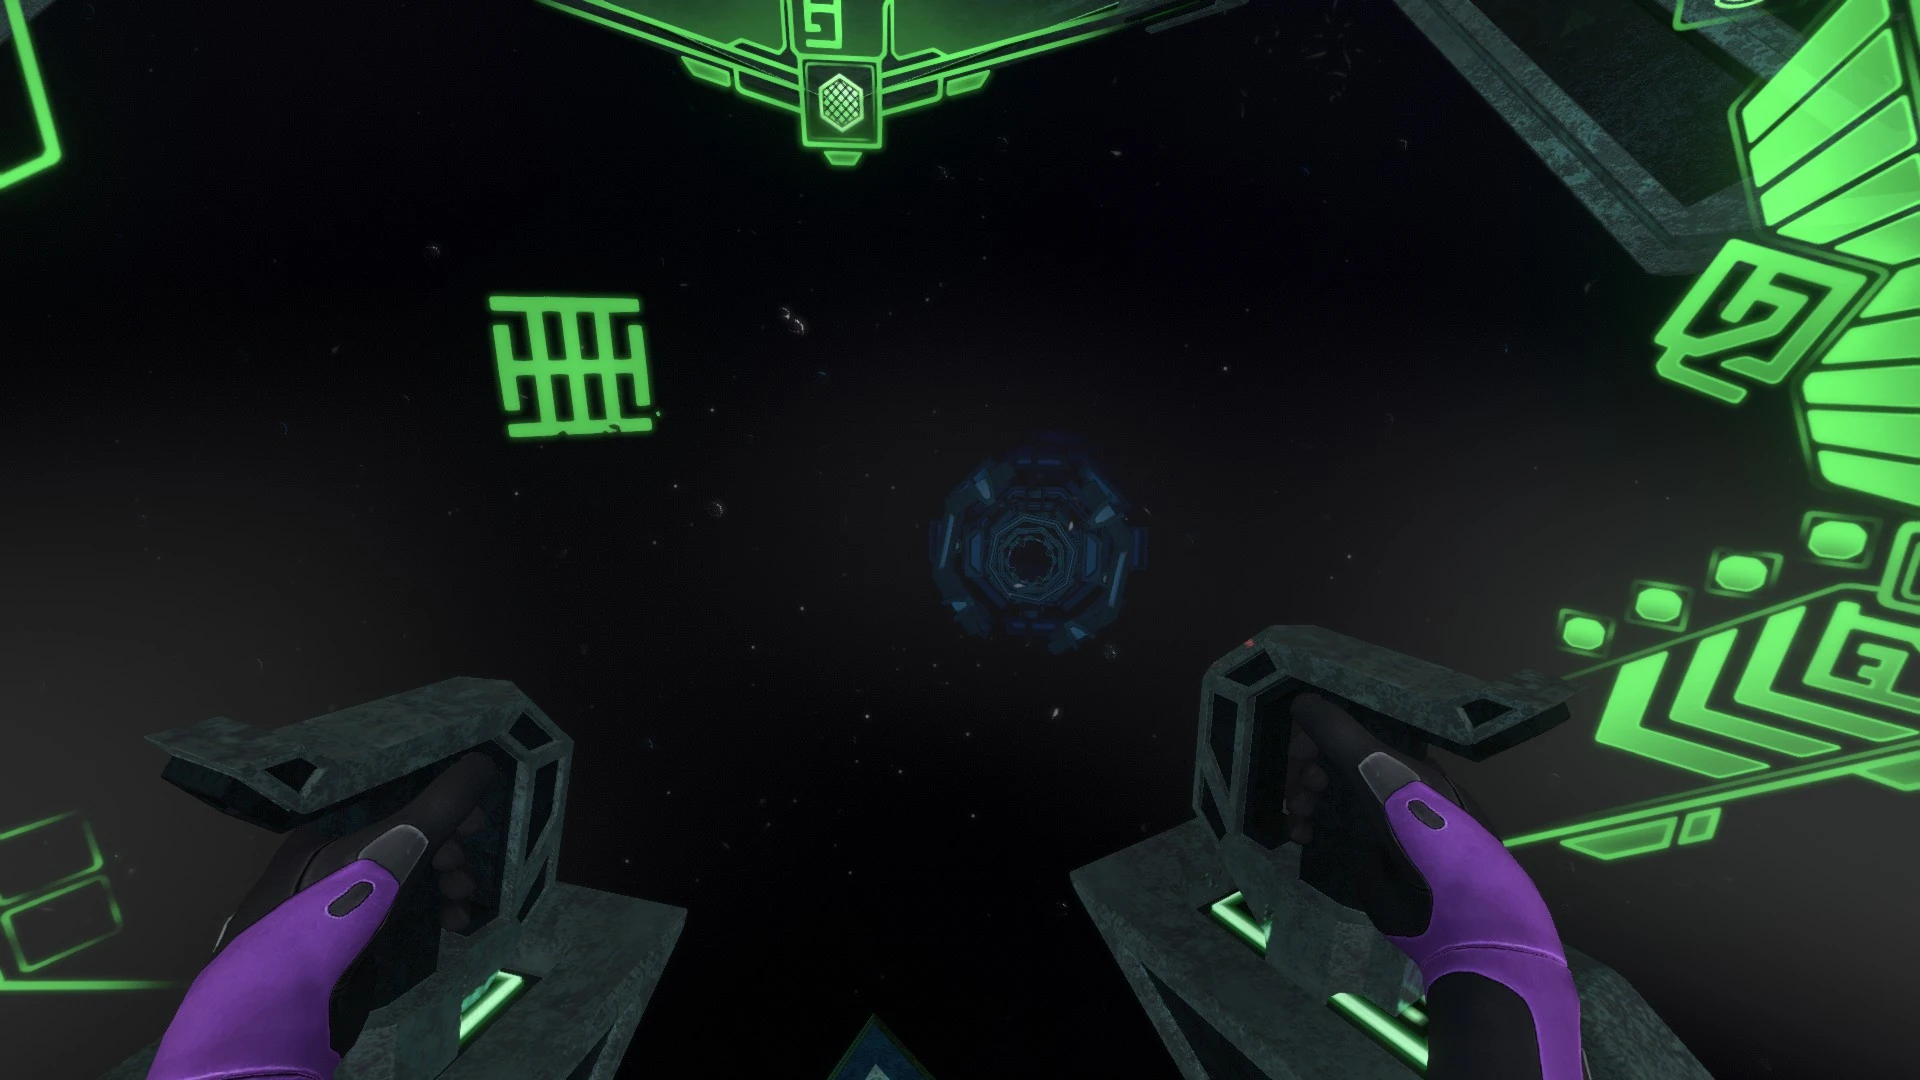
プレイヤー(プロトタイプ)がサイト内を移動すると、その軌跡が白い線として表示される。また、各シンボルが示す地点へ接近すると、対応するシンボルが海中に浮かび上がる。それぞれのシンボルは、「数理認識試験施設」で学習した異星人の数字言語である。
As the player, or the Prototype, moves through the site, its path is displayed as a white line. When approaching the point indicated by each symbol, the corresponding symbol appears in the water. These symbols are the alien numerical language learned in the Number Puzzle Facility.
本サイトでは、指定の順序で各地点を巡ること自体がパズルとなっている。較正手順を完了させるには、6つの地点を正しい順序で航行しなければならない。
At this site, the act of visiting each point in the correct order is itself the puzzle. To complete the calibration procedure, the player must navigate through all six points in the proper sequence.
較正シークエンス:ワームとの対決 Calibration Sequence: Showdown with the Wyrm
本サイトはデッドゾーン内に位置しているが、本来この領域を徘徊しているはずのゴーストリヴァイアサンの姿は一切見られない。代わりに出現するのは、全身を赤く発光させ、攻撃形態へと変異したワーム型ゼノ・リヴァイアサンである。ワームから捕捉されたことを検知したプロトタイプは、船体の発光色を赤へと変化させる。
Although the site is located within the Void, the Ghost Leviathans that would normally patrol this region are nowhere to be seen. Instead, the player encounters the Wyrm Xenoleviathan, transformed into its aggressive form and glowing red across its entire body. Upon detecting that it has been targeted by the Wyrm, the Prototype changes its hull glow to red.
ワームは致死的な兵装を用いてデッドゾーンへ侵入したプレイヤーを迎撃し、較正シークエンスの完遂を阻む最後の障壁として立ちはだかる。攻撃形態のワームは、通常の稼働形態とは比較にならないほどの高速で駆動し、広大な暗黒空間を縦横無尽に旋回しながら、プレイヤーとプロトタイプに攻撃を仕掛ける。
The Wyrm intercepts the player who has entered the Void using lethal weaponry, standing as the final obstacle preventing the completion of the calibration sequence. In its aggressive form, the Wyrm moves at speeds far beyond those of its normal operational form, circling freely through the vast darkness as it attacks the player and the Prototype.
較正シークエンスでは、ワームの襲撃を耐えしのぎながら、サイト内に配置された各シンボルを順に巡らなければならない。また、較正サイトの範囲外へ逸脱すると、その時点でシークエンスは失敗となり、最初のシンボルからやり直す必要がある。プレイヤーは、サイト外へ出ないよう進路を維持しつつ、各較正地点への移動とワームの攻撃に対する防御を並行して行わなければならない。
During the calibration sequence, the player must visit each symbol within the site in order while enduring the Wyrm’s assault. If the Prototype strays outside the calibration site’s boundaries, the sequence immediately fails and must be restarted from the first symbol. The player must maintain a route that keeps the vessel inside the site while simultaneously moving between calibration points and defending against the Wyrm’s attacks.
較正シークエンス中、ワームは突進とレーザー(イオン砲)の2つの手段でプロトタイプを迎撃する。いずれの攻撃もイオン・バリアによってダメージを無効化できるため、攻撃の兆候を見極め、適切なタイミングでバリアを展開する必要がある。
During the calibration sequence, the Wyrm intercepts the Prototype using two attack methods: ramming and a laser, or ion cannon. Damage from either attack can be negated with the Ion Barrier, so the player must identify the signs of an incoming attack and deploy the barrier with proper timing.
ワームは主にプロトタイプの後方を旋回しながら接近し、そのまま船体へ向けて突進を仕掛ける。直撃すると船体の耐久値を半分近く失うほか、衝突の衝撃によって艦の進路を大きく乱され、較正対象のシンボルを見失う危険がある。イオン・バリアを展開しても衝撃そのものまでは防げないため、可能な限り位置取りを調整して回避したい。接近の兆候を察知した場合は、無理に進行を続けず、回避と防御を優先すること。
The Wyrm primarily approaches while circling behind the Prototype, then charges directly toward the hull. A direct hit removes nearly half of the vessel’s hull integrity, and the impact can throw the vessel off course, creating a risk of losing sight of the next calibration symbol. Even if the Ion Barrier is deployed, it does not prevent the physical impact itself, so the player should adjust positioning and evade whenever possible. If signs of an approach are detected, prioritize evasion and defense rather than forcing continued progress.
一方、レーザー攻撃はチャージ開始から発射まで約10秒の猶予があるものの、一撃でプロトタイプの耐久値を約8割削る壊滅的な威力を持つ。レーザーの予告線を確認した場合は、直ちにイオン・バリアの展開を準備し、確実に反射すること。なお、レーザーのチャージ開始から発射後しばらくの間、ワームの移動速度は大幅に低下する。レーザーを反射した後、ワームが通常の移動を再開するまでの時間は、回避行動を抑えて較正地点へ向けて前進できるチャンスとなる。
The laser attack, meanwhile, gives the player roughly 10 seconds between the start of charging and the actual shot, but it has devastating power, removing about 80% of the Prototype’s hull integrity in a single hit. If the laser’s warning line appears, prepare to deploy the Ion Barrier immediately and reflect the attack without fail. During the laser’s charge-up and for a short time after firing, the Wyrm’s movement speed is greatly reduced. After reflecting the laser, the period before the Wyrm resumes normal movement provides a valuable opportunity to reduce evasive maneuvers and advance toward the next calibration point.
仮に防御に失敗して被弾した場合でも、焦らずメンテナンスボットを展開すること。突進とレーザーのいずれの攻撃後も、ワームが次の攻撃へ移るまでには一定の猶予があるため、その間に自動修復機能を利用して体勢を立て直すことができる。ただし、攻撃形態のワームは頭部フレームでプレイヤーを捕食する能力を持つため、生身で船外へ出て修復を行うことは絶対に避けるべきである。
Even if the player fails to defend and takes damage, they should remain calm and deploy the Maintenance Bot. After either a ram or laser attack, there is a short window before the Wyrm begins its next attack, allowing the player to recover using the automatic repair function. However, the aggressive form of the Wyrm can consume the player with its head frame, so leaving the vessel to perform repairs by hand should be avoided at all costs.
ワームの追撃をかわしながら、目印のほとんど存在しない暗黒の海域を、サイトマップだけを頼りに航行しなければならない較正シークエンスは、プロトタイプの性能を十分に引き出さなければ容易に突破できない。
The calibration sequence forces the player to navigate through a dark, nearly featureless stretch of ocean using only the site map, all while evading the Wyrm’s pursuit. It cannot be completed easily unless the Prototype’s capabilities are fully utilized.
ワームの攻撃から船体を保護するイオン・バリア、各較正地点間を迅速に移動するためのリアクター・オーバークロック、航行を続けながら損傷を修復できるメンテナンスボット、そして危機的状況からの緊急離脱を可能にする緊急ワープなど、これまでに獲得した各種アップグレードを最大限に活用することが求められる。
The player is expected to make full use of the upgrades acquired so far: the Ion Barrier, which protects the hull from the Wyrm’s attacks; the Reactor Overclock, which enables rapid movement between calibration points; the Maintenance Bot, which can repair damage while the vessel remains underway; and the Emergency Warp, which allows the Prototype to escape from a critical situation.
較正シークエンスを完了すると、ワームは攻撃を中断し、較正サイトから離脱する。その直後、プロトタイプは再起動するかのような挙動を示し、エンジンの再稼働と同時に、最後の重要地点を示す情報がPDAへダウンロードされる。
Once the calibration sequence is completed, the Wyrm ceases its attack and leaves the calibration site. Immediately afterward, the Prototype behaves as though it is rebooting. As its engine comes back online, information indicating the final key location is downloaded to the PDA.
解答 Answer
解答画像を表示(ネタバレ注意)
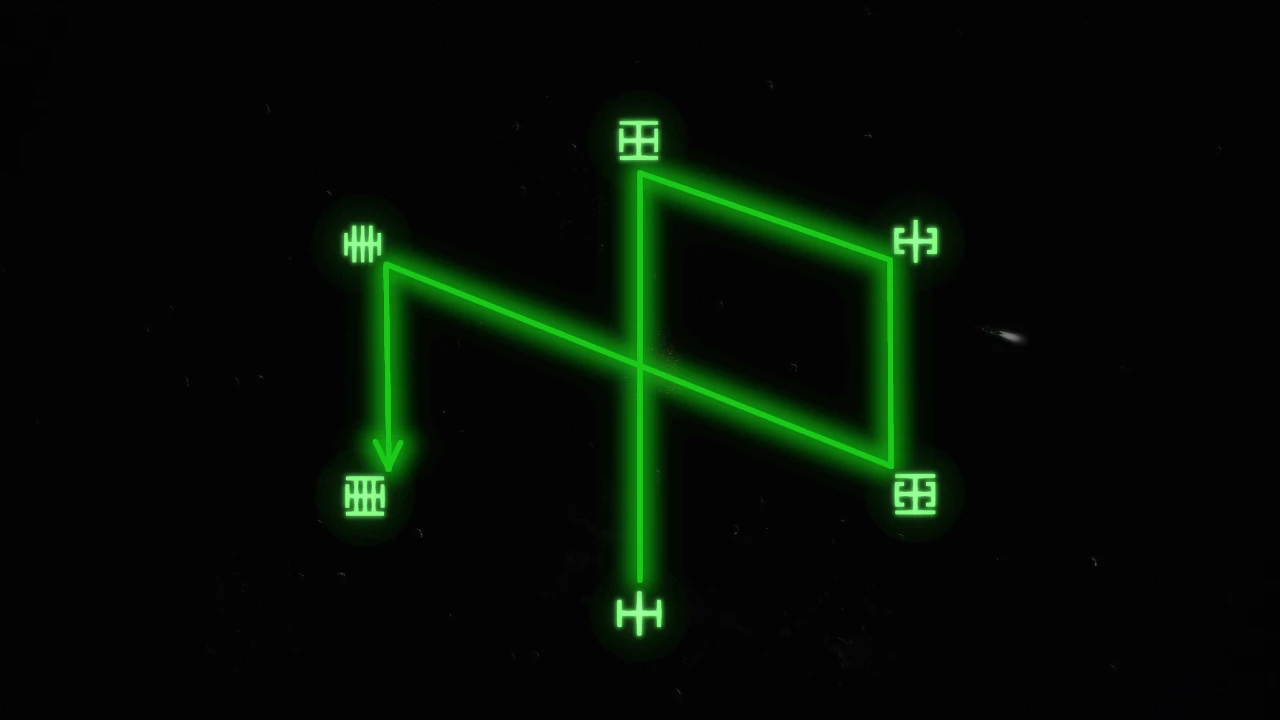
PDAデータバンクPDA Databank
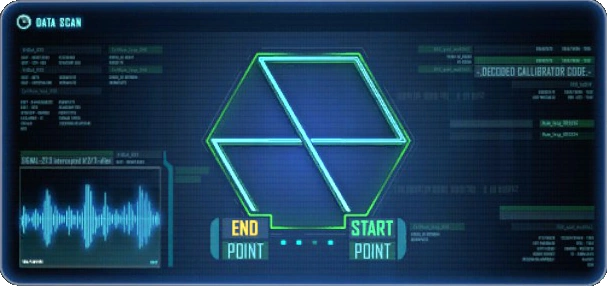
この周辺で受信された異星通信には、先の試験におけるプロトタイプの動作と一致する6点のパターンが示されている。
このパターンは、データ種別:[神経クラスター] の送信を補助するための、極めて精密な指示群を表していると考えられる。当該データの送信理由は不明であるが、さらなる異星データの取得につながる可能性がある。
評価:高度技術の回収のため、引き続き異星人の指示に従え。相互利益が見込まれる。
A local alien broadcast has outlined a six-point pattern matching the movements of the Prototype during the prior exercise.
The pattern appears to represent a highly precise set of instructions to assist in the transmission of data type: [NEURAL CLUSTER]. While it is unknown why such data may require transmitting, it may lead to further acquisition of valuable alien data.
Assessment: Continue following alien instructions to retrieve advanced technologies. Mutual profit will follow.
出典: ゲーム内PDAデータバンク「トランスミッション・キャリブレーションコード」
“TRANSMISSION TARGET LOCATION IDENTIFIED.
BROADCASTING CALIBRATION KEY.”
「トランスミッション目標地点を特定。較正キーを送信中。」
― THANK YOU. ―
― ありがとう。 ―
ギャラリー / Gallery
余談 / Trivia
- アップデートにより、プロトタイプの操縦UIに表示されるサイトマップが改善された。艦の進行方向が明示されるようになったため、以前よりも直感的に進路を判断できるようになっている。
- 較正シークエンス開始後、ワームが発射したレーザーをイオン・バリアで反射することに成功すると、BGMが変化する演出が存在する。それまでの緊迫感を煽る曲から、プレイヤーの進行を鼓舞するような激しい曲へと切り替わる演出は必聴。さらに、較正シークエンスが折り返し地点に差しかかると、再生中の「Decimation」にサビに相当するメロディラインが重なり、BGMがさらに激しさを増すレイヤリング演出が加わる。
-
較正開始後の曲は「Sight Through Chemical Composition」、レーザー反射後のBGMは「Decimation」であり、いずれも開発チームの公式YouTubeチャンネルで視聴可能である。なお、「Decimation」は本MODの最終トレーラーでも使用されている楽曲である。
- これらのBGM演出に加え、プレイヤーの操縦するプロトタイプと巨大兵器の一騎打ちという構図を持つ較正シークエンスは、本MODにおけるストーリー終盤のハイライトであり、一種の「ボス戦」と形容されることがある。
- さらに、この2つの存在の戦いは、異星人技術の極致同士の激突でもある。それらが1,000年以上の長い時を経てもなお、主要な機能を損なうことなく稼働している事実は、異星人たちの技術が人類の想像を絶する水準にあることを改めて印象づける。
- デッドゾーン・マッピング計画のために開発されたプロトタイプは、計画の放棄に伴い、本来の機能を果たすことなく歴史に葬られるはずの存在であった。しかし、プレイヤーおよびOr-Ionとともに較正シークエンスとワームとの戦闘を乗り越えたことで、「巨大敵性存在から船体を保護しながら、広大なデッドゾーンを正確に航行する」という設計思想が、実戦環境においても有効であることが、意図せず証明される形となった。
- An update improved the site map displayed on the Prototype’s piloting UI. Because the vessel’s heading is now clearly indicated, the player can judge their direction of travel more intuitively than before.
- After the calibration sequence begins, successfully reflecting the Wyrm’s laser with the Ion Barrier triggers a BGM change. The music shifts from a track that builds tension to a more intense piece that seems to drive the player forward. In addition, when the calibration sequence reaches its halfway point, an additional melody is layered over the currently playing “Decimation,” making the BGM even more intense.
-
The track played after calibration begins is “Sight Through Chemical Composition,” while the BGM after reflecting the laser is “Decimation.” Both can be heard on the development team’s official YouTube channel. “Decimation” is also the track used in the MOD’s final trailer.
- Together with these BGM cues, the calibration sequence presents a one-on-one confrontation between the player’s Prototype and a gigantic weapon. As a result, it is one of the late-story highlights of the MOD and is sometimes described as a kind of “boss battle.”
- This clash between the two entities is also a collision between the pinnacles of alien technology. The fact that both remain operational after more than 1,000 years, without losing their core functions, once again emphasizes the unimaginable level of the aliens’ technological capabilities.
- The Prototype was developed for the Dead Zone Mapping Initiative, but when the initiative was abandoned, it seemed destined to be buried by history without ever fulfilling its original purpose. However, by overcoming the calibration sequence and the battle with the Wyrm alongside the player and Or-Ion, the vessel unintentionally proves that its design concept—protecting the hull from a gigantic hostile entity while navigating the vast Dead Zone with precision—remains viable even under real combat conditions.